Quick Start
Quick Start
Section titled “Quick Start”Get Sublarr connected to your media stack and downloading subtitles.
Connect your *arr apps and trigger your first subtitle search.
Prerequisites
Section titled “Prerequisites”- A running Sublarr instance — see Installation.
- At least one reachable Sonarr or Radarr instance.
- (Optional) an Ollama or cloud translation backend if you want local translation.
1. Open the Onboarding Wizard
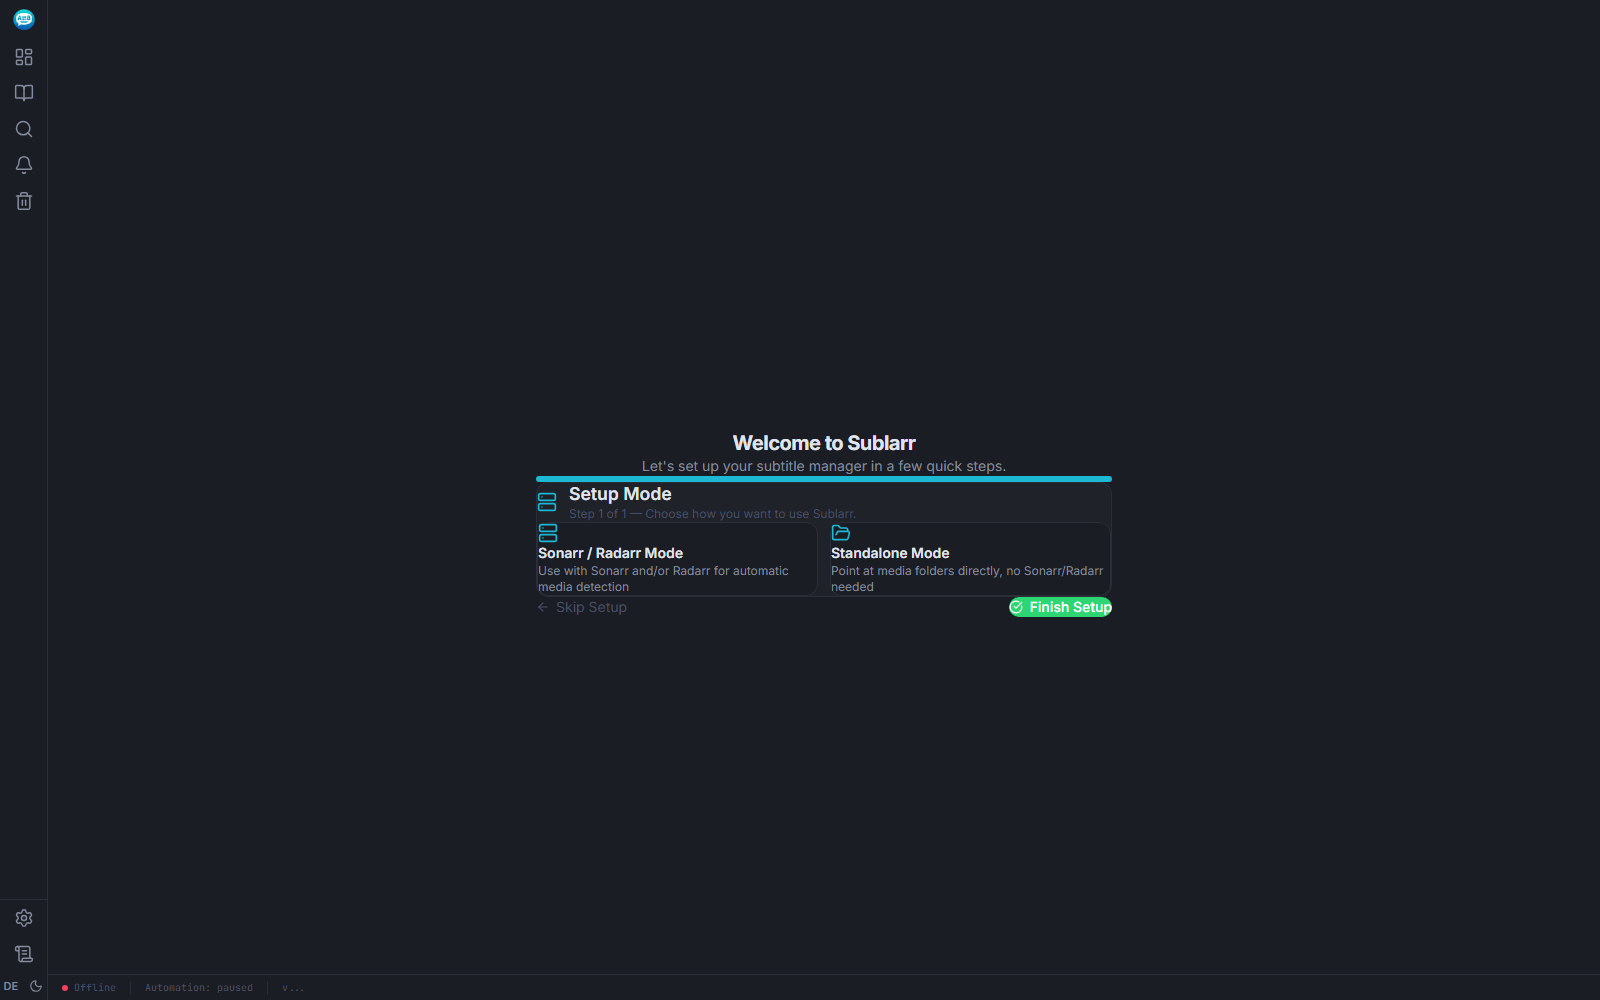
Section titled “1. Open the Onboarding Wizard”Open http://<HOST_IP>:5765/ in a browser. On first run the Onboarding Wizard appears automatically. If you skipped it, reopen via Settings → Onboarding.

The first wizard step also asks for your Media Path — the in-container path where Sublarr can read your library (default /media, matching the Docker mount from Installation). If your Sonarr/Radarr containers see a different path (e.g. /data), set up path mapping later in Settings → Integrations.
2. Connect Sonarr or Radarr
Section titled “2. Connect Sonarr or Radarr”In wizard step 2, fill out URL, API Key, and the Default Language Profile. The API key lives in Sonarr/Radarr at Settings → General. Click Test to verify reachability.
For details on Sonarr/Radarr fields and path mappings, see Integrations.
3. Pick a Language Profile
Section titled “3. Pick a Language Profile”Step 3 lets you create or pick a Language Profile — the per-series rules for what languages to fetch and at what minimum score. The default profile (en source → de target, score 60) covers most users.

For deeper profile design, see Language Profiles.
4. Trigger the first scan
Section titled “4. Trigger the first scan”After finishing the wizard, open Wanted → Scan now. Sublarr fans out to every enabled provider, scores candidates, and starts downloading.
For what the scoring rules do, see Wanted.
Verify
Section titled “Verify”Open Activity → Recent. Within a minute the scan run appears, then individual downloads.
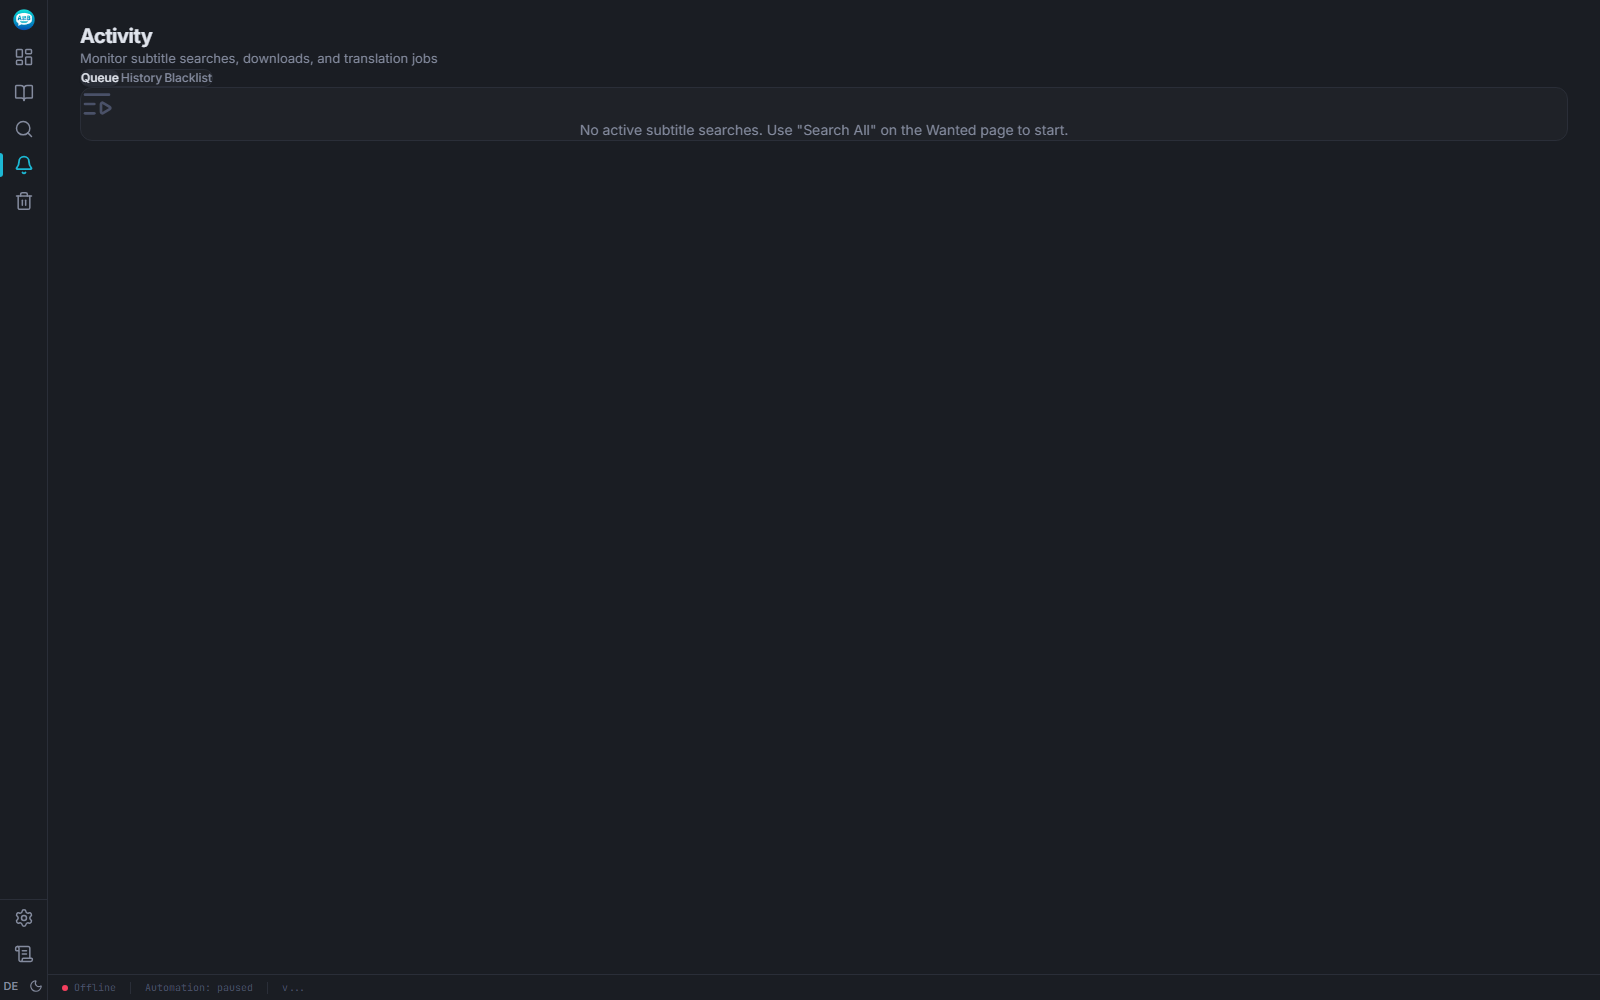
If nothing appears after 2 minutes, check the troubleshooting page for common causes.